Design Evolution

Design Evolution Definition

Whether creating a new product, designing an interface, or understanding a customer experience, the first attempt will rarely be a success. Iterating based on customer feedback is the most important action you could take when innovating your business, which takes careful planning to get right. The design evolution template is the perfect interface to build this innovation and move forward successfully.

The design evolution template allows you to iterate based on concrete customer feedback and create multiple levels of solutions before reaching your conclusion.

The two key parts of evolving an experience are incorporating customer feedback and iterating multiple times. The design evolution template allows you to incorporate feedback directly to the board in a designated “initial feedback” group and provides space for various iterations to help plan the perfect solution.

As stated previously, this template is beneficial for auditing an experience or implementing design changes. Outside of those scenarios, one of its most effective applications is prototyping. This template helps implement feedback on an initial prototype and allows you to create informed decisions with your team.


Design Evolution Template

Using the design evolution template is very simple, and a key piece of preparation for it is gathering customer feedback. You will use pieces of feedback to guide your team during the collaboration session, so the first step to building this template is to use a survey or conduct email outreach to learn more about your customer’s thoughts & feelings. After you’ve gathered enough data, you can begin iterating your solution.

Step #1: Determine Scope

The first important part of using the design evolution template is getting your team together and formalizing the scope of your exercise. If you don’t cement clear boundaries for your project, it is hard to address the core issues being fixed. Things can get continuously larger, and the real issue loses importance. Setting boundaries and isolating the issue frames the design evolution template nicely and allows your team to iterate clear and direct solutions. 

Step #2: Document Your Prototype

The initial step in the analysis portion of the template will be to document the prototype that you’re working with. This isn’t always a prototype but usually refers to the current state of your solution, whatever that may be. Document what it is and how it functions so you can use this information as a reference when improving it.

Step #3: Analyze Feedback

After framing your issue, you need to begin discussing the customer feedback you gathered in preparation for this exercise. Paste comments in the “initial feedback” section and discuss how these pieces of feedback will influence your future iterations. Are there some things that need immediate focus, while others are a lower priority? Does this feedback align with your vision of improvement, or will you need to make compromises?

Take some time to consider what your feedback means and how you can integrate it into your solutions.

Step #4: Iterate and Repeat

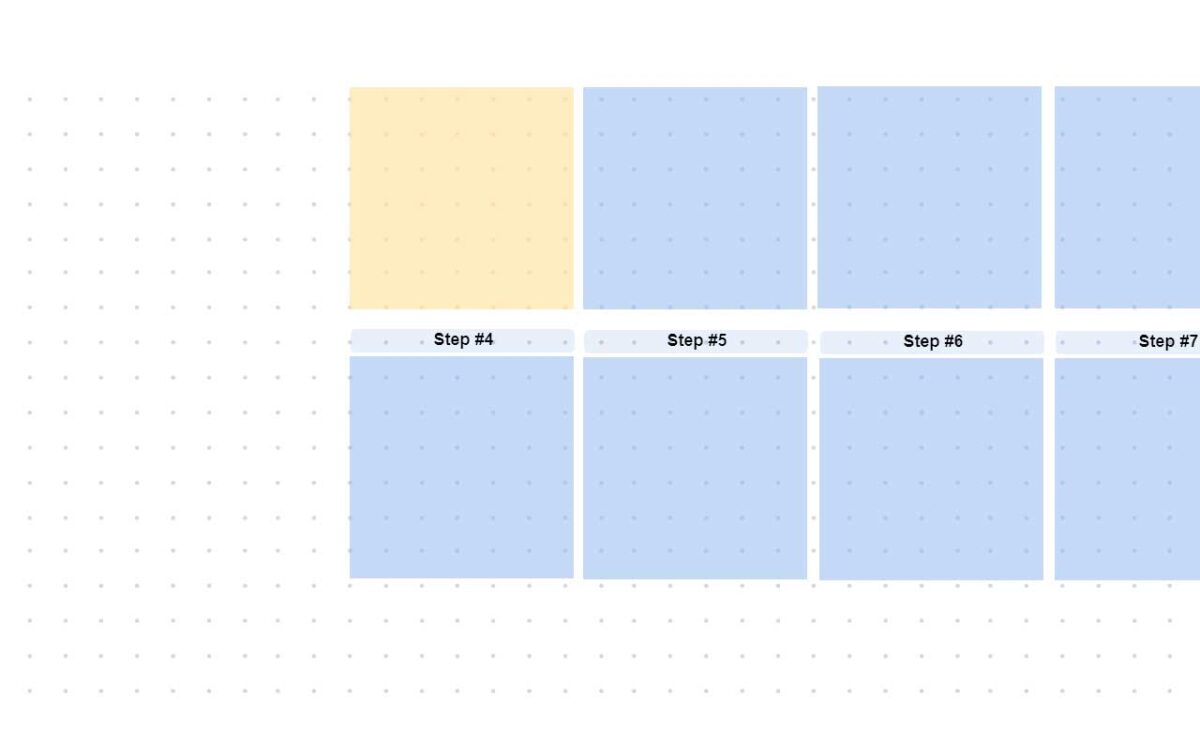
After considering the customer feedback, you can begin iterating new solutions. This process can be done once, or you can return to this template multiple times to figure out the best approach.

You are given three sections on the board to elaborate on multiple different iterations, and you can always duplicate these sections if you need more space. Using the customer feedback and your vision for the future, iterate on your current solution to improve it.

One way of iteration could be to look at specific parts of the solution in each iteration, and you have a holistic experience by the end. Another way could be to fully iterate in each section, create the changes in a test environment, and continue iterating to improve it further. This process should reflect what works best for your team.

After completion, this template is helpful to keep around to reference for future iterations. You can easily track your pattern of thinking and see what solutions were tabled in the past, and hopefully, take inspiration from them in the future.


Design Evolution Advantages

Using the design evolution template is key to creating targeted and informed solutions. Here are some of the main advantages of using it.


  • Integrated Feedback: The design evolution template hinges on customer feedback, making the customer’s needs the center of the exercise. Putting feedback on the template and making it key to the iteration process ensures your solution will be highly targeted toward the customer’s needs. When you don’t prioritize customer needs, your solutions might simply address symptoms of the issue rather than the core problem
  • Collaborative Problem-Solving: One of the best ways to create informed solutions is to utilize collaboration in the problem-solving process. The design evolution template easily incorporates collaboration through an online whiteboard, allowing you to integrate multiple perspectives to create well-informed and effective solutions.
  • Incorporates Innovation: The design evolution template revolves around innovating your experience. Regardless of the field you’re working in, this template allows you to think outside the box when creating multiple levels of solutions for a core issue. Additionally, you can return to this template in the future to gain insight into your previous solution, why you decided on them, and what that means for the future.

Fresco Design Evolution Example

In our example, we show how this template can be used for designing the dashboard of a collaboration software. Below, we’ll outline some notes in each section and the overall outcomes. 


Prototype: The initial version shows a basic dashboard setup, mainly communicating through icons.

  • Icons showing multiple admin tools, workspace options, settings, and boards in a dashboard setup.


Initial Feedback: The main feedback provided from the customers shows that the dashboard isn’t descriptive enough, and there needs to be more communication from the product.

  • Difficult to navigate.
  • Bugs in settings.
  • Icons aren’t descriptive enough.
  • Tiles aren’t uniform.
  • Need more options on each tile.


Iteration #1: The first iteration tackles a couple of key complaints. It directly addresses one or two areas of improvement and tries to upgrade the overall experience by changing the color and feel of the dashboard.

  • Focus on changing icons to text options.
  • Change temporary color scheme to less vibrant and more approachable.
  • Create uniform design tile.


Iteration #2: The second iteration continues to build on some key complaints from the user feedback by fixing key bugs and rearranging the dashboard to allow for easier navigation.

  • Fix all bugs in settings and bring settings button to the front.
  • Change structure and layout of dashboard to make options easier to access.


Iteration #3: The final iteration wraps everything up nicely by finalizing a new look, creating a smoother experience, and fixing key issues with some lingering product elements.

  • Finalize color options and roll out new branding.
  • Finalize testing and bug fixing to make the experience smooth.
  • Add new tile options to make editing, renaming, and deleting easy.


Analysis: Overall, this template functions great as a stepwise plan to meet customer needs through multiple release iterations. By building on previous work and understanding what the customer needs, you can effectively create solutions that innovate your business while also improving the customer’s experience.

Learn More

Scope creep is a term that refers to the expansion of scope throughout the course of a project. Learn how to avoid it by using Fresco.

A fishbone diagram is a template that breaks down problems in a way that helps teams identify and address the root cause of an issue.

The Agile methodology is a workflow that emphasizes cyclical improvements, collaboration, and frequent adaptation in order to solve problems.

Mind Maps present a unique solution to brainstorming and offer an intuitive structure to help you retain information. Learn more on Fresco.

Stakeholder mapping is the process of identifying, diagramming, and prioritizing stakeholders by analyzing their influence over and interest in a project

Online whiteboards do an incredible job connecting workspaces and engaging people in various collaboration activities. Learn more on Fresco.

Visual collaboration enables people to expand their connection globally, and unlock a world of new capabilities. Read to find out just what is possible.

With the workplace changing permanently, people must adapt to embrace virtual activities. Learn how to optimize your next virtual workshop at Fresco!

What is a Fishbone Diagram? Fishbone diagram (also known as the Ishikawa diagram) is defined as a ‘casual diagram’ methodology that aims to find root causes of specific problems. It is widely used in manufacturing and industrial services, product development, or just general troubleshooting of problems where the cause is unclear. Any fishbone diagram has […]

What is Ansoff Matrix? Ansoff Matrix is defined as an enterprise growth planning method that aims to find new growth avenues. These growth avenues are located and analyzed based on the combination of four distinct attributes in a matrix layout; these attributes are existing products, new products, existing markets and new markets. It is a […]

What is PESTEL Analysis? PESTEL analysis is defined as a business impact study that aims to understand the effects of 6 key external factors, which are politics, economics, social, technology, environmental and legal.  Initially designed in 1967 as a business planning tool, this method was then known as PEST, with environmental and legal factors joining […]