How do you build a storyboarding template?

The importance of using a storyboard to map out your customers’ journey and experience in using your products cannot be over-emphasized. It gives you an insight into what changes you need to make to your products and where they should be done. However, the big question remains “How do I build a storyboarding template for my business?”

Storyboarding template

Building a storyboard for your business

The main reason for building a storyboard for your business is to view the use of your product from your customers’ point of view. Your storyboard should focus on what the users experience in using your products. This will help you relate to your customers better and resolve their problems and complaints where necessary

There are four (4) steps to building a storyboarding template for your business, and below, I will be discussing all four of them.

Choose your template Medium

The first step to building a storyboarding template is to choose a template medium. You can either use a hand-drawn template or create one using a storyboarding application.

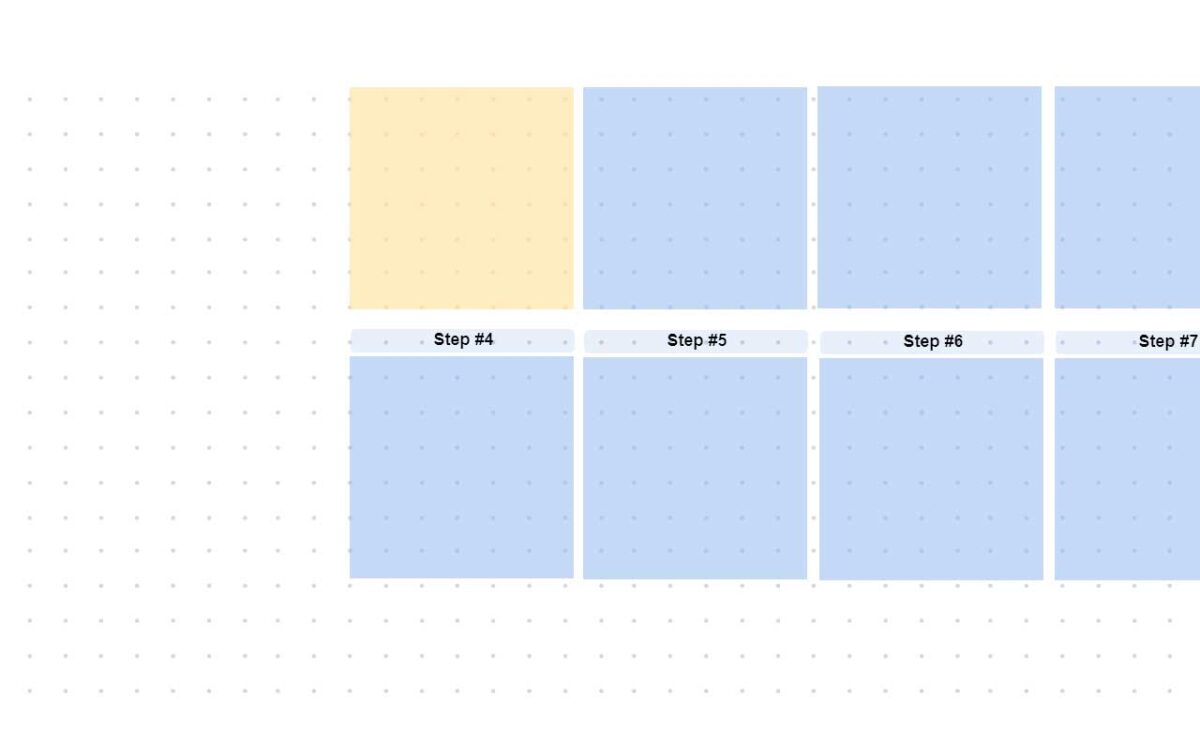
You can create a hand-drawn template by dividing poster cards into frames of same-sized square/ rectangular shapes. Then, you will arrange them in chronological order, just like they would appear to a user.

You can also use storyboarding applications like storyboardthat.com. They usually come with thumbnail sheets, and if not, you can download the ones you would like to use. Just like the hand-drawn templates, you can choose the shapes you want as long as it best fits your product.

After choosing your template medium, you can move on to the next step.

Sketching

Now that you’ve chosen your template medium, the next is to sketch out your product’s interface and everything involved in its use. Sketch in the same way as it would appear to your customers.

For example, if your product is an application, you would sketch every step the users use the application. Include the colors, backgrounds, information garnering method, the fonts used, etc. Make sure it looks exactly the way your customers would view it.

You would start from the point where they would sign up until they use the app and exit after use.

Also, if your product has a website, sketch out every part from when they access the website, get what they need and also exit the website.

Sketching every part would give you a close-up view of the user’s experience when they encounter each stage of using your products.

Add the necessary elements

After sketching, the next step would be to go through each template and focus on every part, a section at a time. At this step, you would notice several things from a user’s perspective.

All the complications and problems your users go through while testing out your product, you will see vividly. It is at this point that you would now make changes.

Also, it would help if you came up with answers to the following questions while making changes:

  • How do I resolve these complications to enable a good user experience?
  • If I was the user, how would I want the complications to be resolved?
  • What should I remove that wouldn’t affect the usage of my products but aid my user’s satisfaction?
  • What qualities should I add to increase the excellent performance of my products?
  • Would I attract the right target audience if I approached this method differently?

These questions and many more would pop up in this step. The answers, however, would be the solution to all the complications and problems encountered.

Editing and final touches:

The final step in building a storyboarding template for your business is the editing step. Before this step, you must have finished all the rough work above. This step requires you to go through all the templates, adding and removing the appropriate ones.

Note what is missing and shouldn’t be there and edit as appropriate. After this step, you have completed and built a storyboard for your business.

Featured Image

Categories:

Fresco Logo

Fresco is focused on visual collaboration with a mission to expand the possibilities of teamwork online.

contact@frescopad.com

Categories

Recent Posts

Learn More

Scope creep is a term that refers to the expansion of scope throughout the course of a project. Learn how to avoid it by using Fresco.

A fishbone diagram is a template that breaks down problems in a way that helps teams identify and address the root cause of an issue.

The Agile methodology is a workflow that emphasizes cyclical improvements, collaboration, and frequent adaptation in order to solve problems.

Mind Maps present a unique solution to brainstorming and offer an intuitive structure to help you retain information. Learn more on Fresco.

Stakeholder mapping is the process of identifying, diagramming, and prioritizing stakeholders by analyzing their influence over and interest in a project

Online whiteboards do an incredible job connecting workspaces and engaging people in various collaboration activities. Learn more on Fresco.

Visual collaboration enables people to expand their connection globally, and unlock a world of new capabilities. Read to find out just what is possible.

With the workplace changing permanently, people must adapt to embrace virtual activities. Learn how to optimize your next virtual workshop at Fresco!

What is a Fishbone Diagram? Fishbone diagram (also known as the Ishikawa diagram) is defined as a ‘casual diagram’ methodology that aims to find root

What is Ansoff Matrix? Ansoff Matrix is defined as an enterprise growth planning method that aims to find new growth avenues. These growth avenues are

What is PESTEL Analysis? PESTEL analysis is defined as a business impact study that aims to understand the effects of 6 key external factors, which